Bread Machine Pizza Crust Recipe
Are you tired of store-bought pizza crusts that lack flavor and freshness? Look no further! In this article, we’ll show you how to make the perfect pizza crust using your bread machine. With just a few simple steps, you can create a homemade crust that is soft, chewy, and packed with delicious flavors.
So grab your bread machine and get ready to impress your friends and family with your innovative pizza-making skills!
Choosing the Right Flour
When choosing the suitable flour for your bread machine pizza crust, it’s essential to consider the texture and type of crust you prefer. Various flour types can be used, each offering different characteristics to enhance your pizza experience.
Firstly, all-purpose flour is a versatile option for most pizza dough recipes. It has a moderate protein content that helps in gluten development, resulting in a chewy yet tender crust. Using bread flour would be ideal if you prefer a lighter and crispier crust. Its higher protein content promotes better gluten formation, giving your crust an excellent structure and rise.
For those looking for an alternative or gluten-free option, specialty flours such as almond or chickpea flour are availabler. These flours provide unique flavors and textures to your pizza crust while catering to dietary restrictions.
Experimenting with different combinations of flours can also yield interesting results. For example, combining whole wheat flour with all-purpose flour adds depth of flavor and a slightly heartier texture to your crust.
Remember that the key to achieving the perfect bread machine pizza crust lies in understanding the characteristics of different flours and how they contribute to gluten development. So, explore the world of flour to create innovative and delicious homemade pizzas!
Measuring Ingredients Accurately
Use accurate measurements for all ingredients to achieve the best results. Measuring ingredients accurately is crucial when making bread machine pizza crust. Here are some tips and tricks to ensure precise measurements:
-
Use the right measuring equipment: Use suitable measuring cups and spoons for dry and liquid ingredients. These will help you measure accurately and avoid any discrepancies.
-
Spoon and level dry ingredients: When measuring flour, sugar, or other dry ingredients, spoon them into the measuring cup until it’s overflowing, then level off the excess with a straight edge. This method ensures consistency in measurement.
-
Measure liquids at eye level: Pour liquid ingredients into a clear liquid measuring cup placed on a flat surface. Bend down so that your eyes are at the same level as the markings on the cup to get an accurate reading.
-
Troubleshooting tips: If your dough turns out too dry or too wet, adjust by adding more flour or water gradually until you reach the desired consistency.
Selecting the Perfect Yeast
Choose the perfect yeast for your homemade pizza to ensure the best results. Various yeast variations are available in the market, each with unique characteristics that can significantly impact the flavor and texture of your crust. Understanding these differences and selecting the one that best suits your taste preferences is essential.
Before incorporating the yeast into your dough, it is crucial to activate it properly. The activation process helps awaken dormant yeast cells and allows them to multiply, resulting in a more robust rise. To activate yeast, warm water to around 110°F (43°C). Dissolve a small amount of sugar into this warm water and sprinkle the yeast over it. Let it sit undisturbed for about 5 minutes until foamy bubbles form on the surface.
During this time, enzymes present in the yeast convert starches into sugars through fermentation. These sugars act as food for the yeast and promote rapid growth. Once activated, incorporate this mixture into your pizza dough recipe according to its instructions.
Adding the Right Amount of Water
The proper water-to-flour ratio is crucial when making the perfect pizza crust in your bread machine. It would be best to find the perfect balance between these two ingredients to achieve a dough that is neither too dry nor too sticky.
Perfect Water-To-Flour Ratio
Mix the water and flour until you achieve the perfect ratio for your bread machine pizza crust. Getting the proper water-to-flour ratio is crucial for a successful pizza crust. Here are three key factors to consider:
-
Water Temperature: Use warm water, around 105°F (40°C), to activate the yeast and ensure proper fermentation. Cold water can slow yeast activity, while hot water can kill it.
-
Dough Hydration: The hydration level determines the moisture content of your dough. For a soft and chewy crust, aim for a hydration level between 60% to 70%. Adjust this based on personal preference and desired texture.
-
Experimentation: Don’t be afraid to experiment with different ratios until you find the perfect one that suits your taste buds. Remember that higher hydration levels result in a more airy and open crumb, while lower hydration levels yield a denser crust.
Avoiding Dough Stickiness
If your dough is too sticky, add a sprinkle of flour to achieve the desired consistency. Sticky dough can be a common problem when making pizza crust in a bread machine. The amount of moisture in the dough can vary depending on factors such as humidity and the brand of flour used. Following the recipe measurements is essential to ensure your dough is not too sticky. If your dough is still moist even after adding more flour, try slightly reducing the amount of liquid in the recipe. Another tip is to ensure that you are using fresh yeast and that it is correctly activated before adding it to the dough mixture. By troubleshooting these common problems, you can avoid stickiness and achieve a perfect pizza crust every time.
| Problem | Solution |
|---|---|
| Sticky Dough | Add a sprinkle of flour |
| Excess Liquid | Reduce liquid slightly |
| Inactive Yeast | Activate yeast properly |
Innovative bakers know that precise measurements and troubleshooting techniques are crucial to avoiding sticky dough when making pizza crust in a bread machine.
Kneading the Dough to Perfection
You’ll want to use your bread machine’s dough setting for about 10 minutes to knead the dough perfectly. This step is crucial in developing the gluten and creating a light and airy pizza crust. The bread machine’s dough setting provides consistent kneading and ensures that the ingredients are thoroughly mixed.
Following a few kneading techniques is essential to achieve optimal results when using the dough setting on your bread machine. First, ensure all ingredients are at room temperature before adding them to the device. This will ensure proper yeast activation and even the rising of the dough. Add the wet ingredients first, followed by dry ingredients, to prevent clumping.
Troubleshooting kneading issues can arise if you notice that your dough is too sticky or not coming together correctly. If your dough feels too sticky, gradually add small amounts of flour until it becomes smooth. On the other hand, if your dough appears dry and crumbly, add small amounts of water until it becomes more pliable.
Letting the Dough Rise
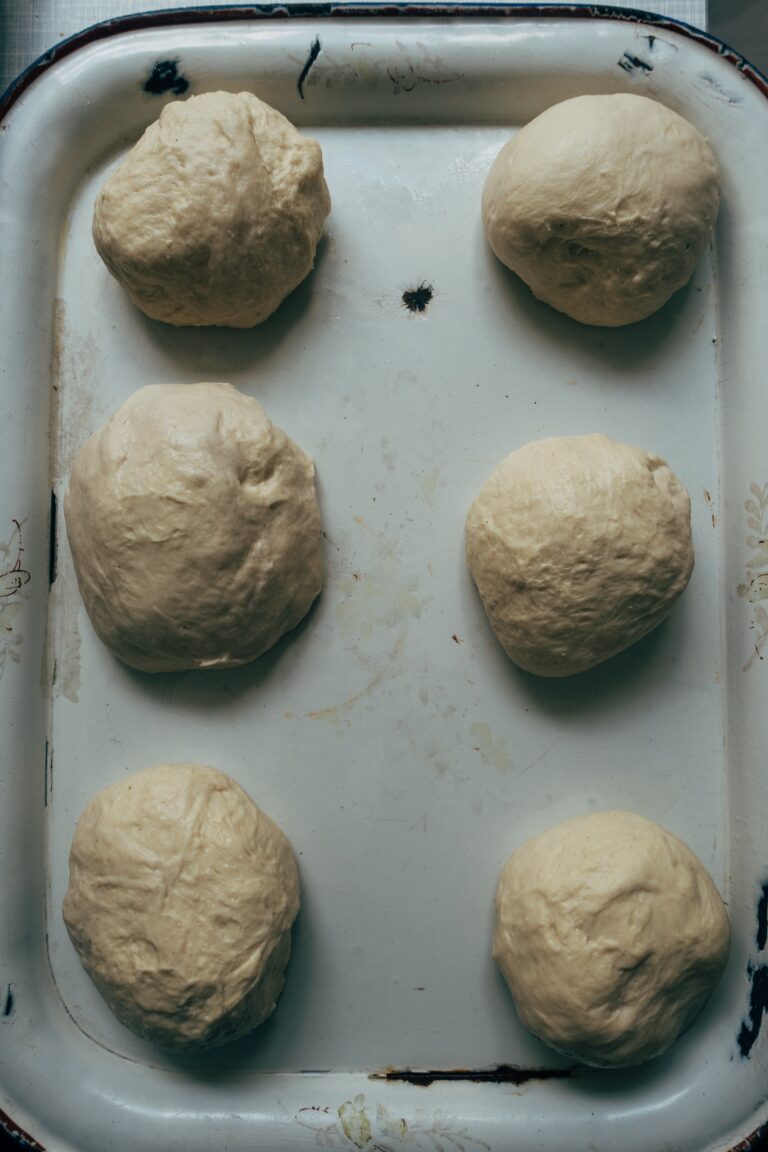
When allowing your dough to rise, remember to cover it with a clean kitchen towel to prevent it from drying out. Growing the dough is crucial in achieving that light and airy texture we love in homemade pizza crust.
To ensure success, let’s explore some rising techniques and troubleshooting tips.
Firstly, choose a warm and draft-free area for your dough to rise. The ideal temperature is around 75°F (24°C). You can create this environment by preheating your oven at the lowest setting for a few minutes, then turn it off before placing your covered bowl inside.
Next, give the yeast enough time to work its magic. Most recipes call for about 1-2 hours of rising time. However, if you’re short on time, you can speed up the process by slightly increasing the amount of yeast or using warmer water when activating it.
If your dough isn’t rising as much as desired, there could be several reasons. Check your yeast’s expiration date or ensure you followed the recipe measurements accurately. Additionally, avoid over-kneading the dough, as this can inhibit proper rising.
Rolling Out the Crust
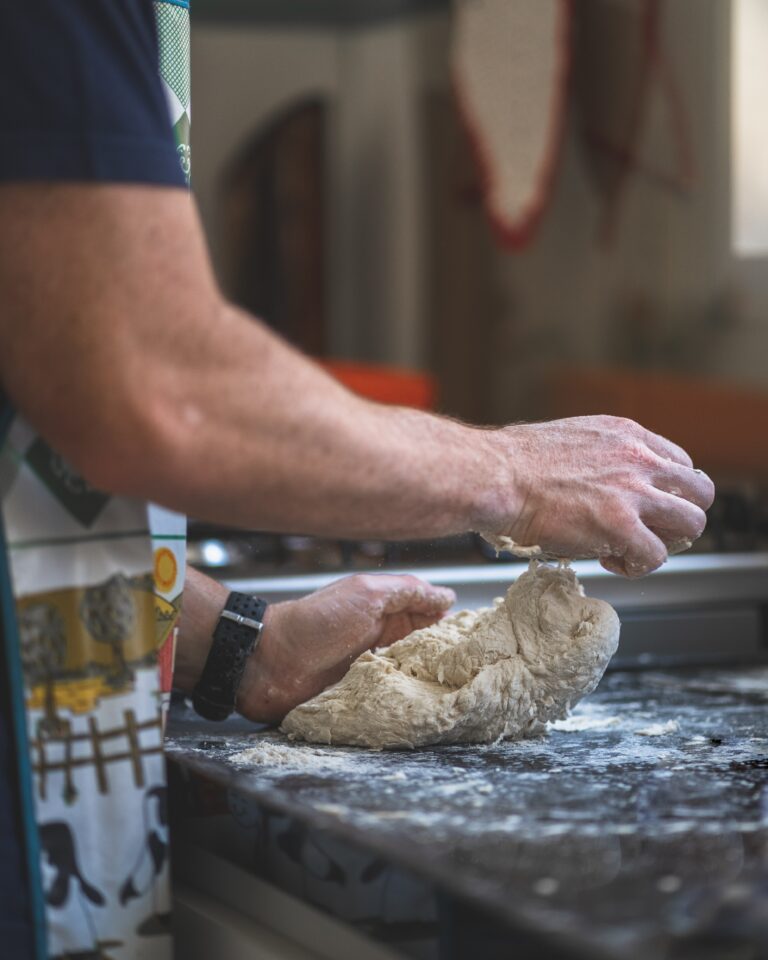
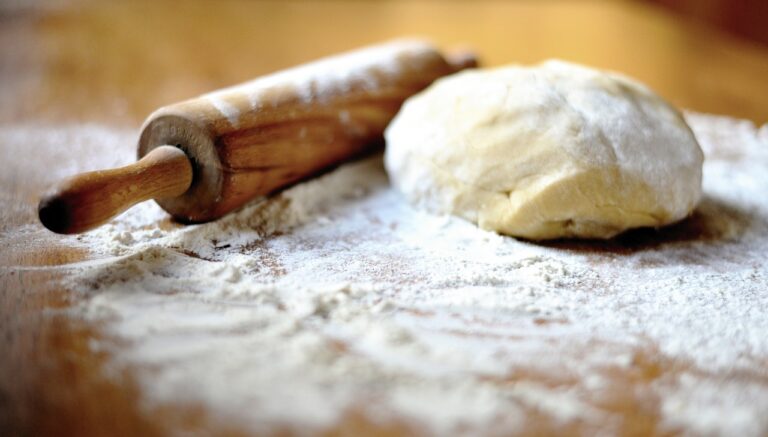
Now that your dough has become perfect, it’s time to move on to the next step: rolling out the crust. This is an integral part of the process as it determines the thickness and shape of your pizza crust. Following a few simple tips, you can avoid tearing dough and ensure a perfectly shaped crust.
To help you visualize the process, here’s a handy table with some key pointers for shaping the crust:
| Tip | Details |
|---|---|
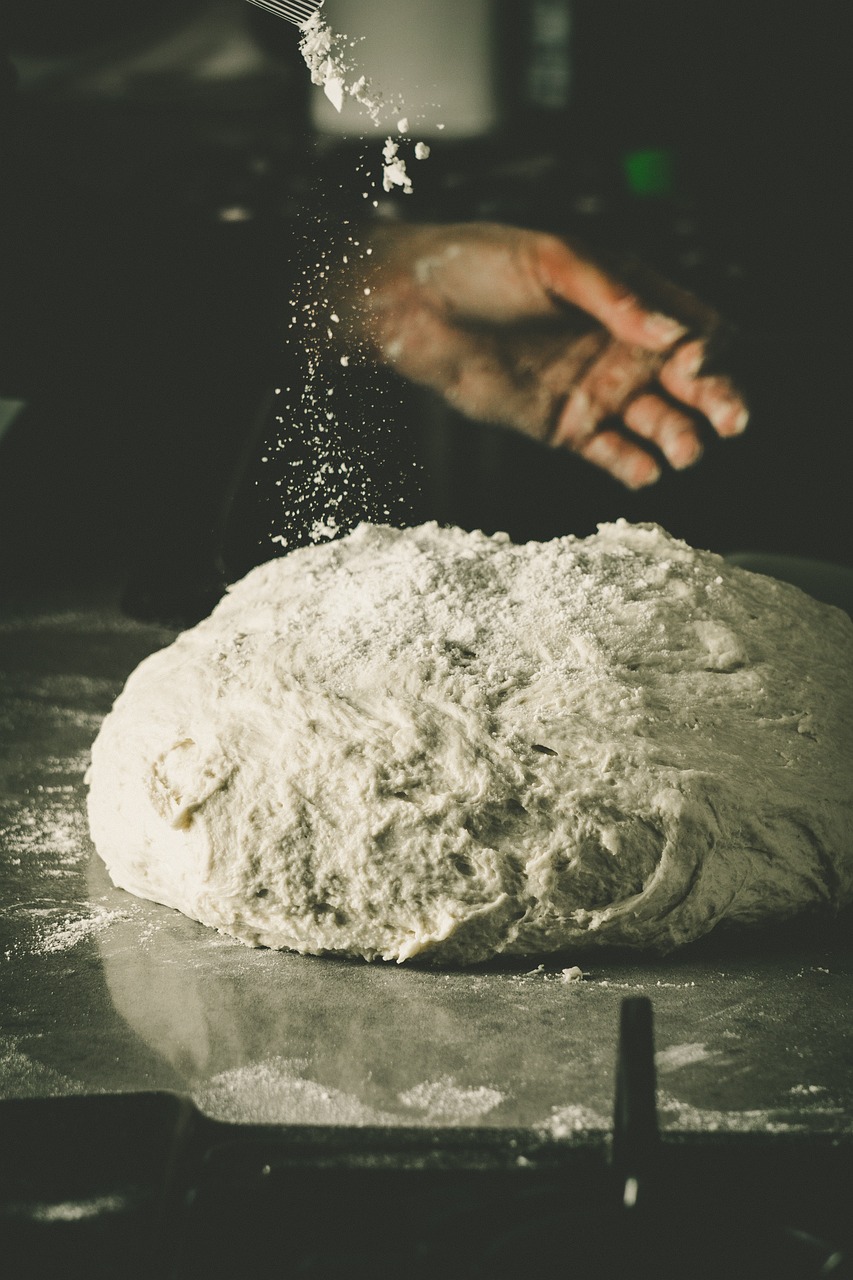
| Flour your work surface | Sprinkle some flour on your countertop or cutting board |
| Flatten the dough | Use your hands or a rolling pin to flatten the dough gently |
| Rotate while rolling | Turn the dough frequently to achieve an even thickness |
| Stretch from underneath | Lift and stretch the edges of the dough using your fingers |
Incorporating these techniques allows you to roll out your pizza crust without tears or unevenness. Remember, practice makes perfect, so don’t get discouraged if it takes a few tries to get it right.
Once you’ve achieved your desired thickness and shape, transfer the rolled-out crust onto a baking sheet or pizza stone, add toppings, and begin baking according to your recipe instructions. Enjoy creating delicious homemade pizzas with a perfectly shaped crust!
Pre-Baking the Crust
When pre-baking the crust for your homemade pizza, there are three key points to consider.
First, determining the optimal crust thickness can make all the difference in achieving that perfect balance between a crispy exterior and a soft, chewy interior.
Secondly, experimenting with different pre-baking time variations can help you achieve the desired level of crispiness based on personal preference.
Lastly, exploring various crust texture techniques, such as docking or blind baking, can add complexity and depth to your pizza crust.
Optimal Crust Thickness
You’ll want to roll the perfect pizza crust thickness out to your desired thickness before baking. Achieving the optimal crust thickness is essential for a delicious and satisfying pizza experience.
Aim for a uniform thickness to ensure even baking when rolling out the dough. This will help you achieve a crispy crust that is neither too thin nor too thick. A thinner crust will become crisper and crunchier when baked at an optimal temperature of around 450°F (232°C). On the other hand, a thicker crust will have a softer texture in the center while maintaining crispness on the outside.
Experiment with different dough thicknesses to find your preferred level of crispiness and adjust your oven temperature accordingly for best results. Don’t be afraid to innovate and create your signature pizza crust!
Pre-Baking Time Variations
To achieve the perfect texture, vary how much time you pre-bake your dough. Pre-baking is a crucial step in creating a delicious pizza crust that is crispy on the outside and soft on the inside.
The temperature at which you pre-bake your dough plays a significant role in achieving this desirable texture. Pre-bake your dough at a higher temperature, around 425°F (220°C), for a thin, crispy crust. This high heat will help quickly set the dough’s outer layer, creating that desired crunch.
If you prefer a thicker and softer crust, lower the pre-baking temperature to around 375°F (190°C). This gentler heat allows even more cooking throughout the dough, resulting in a smoother texture. Experimenting with different pre-baking techniques can produce innovative and exciting outcomes for your homemade pizza crust.
Crust Texture Techniques
Experiment with various pre-baking times to achieve the desired texture for your homemade pizza.
The crust browning and yeast activation are crucial factors that can significantly impact the final result. To create a perfectly crisp crust, try pre-baking it for a shorter time at a higher temperature. This will allow the crust to brown quickly while retaining its chewiness.
On the other hand, if you prefer a softer and doughier texture, opt for a longer pre-bake at a lower temperature. This will give the yeast more time to activate and create air pockets within the dough, resulting in a lighter and fluffier crust.
Don’t be afraid to experiment with different combinations of baking times and temperatures until you find your ideal pizza crust texture.
