Best Pizza Crust Recipe
Are you tired of mediocre pizza crusts that don’t hit the mark? Look no further because we’ve got the ultimate recipe for you.
This article will guide you through making the best pizza crust you’ve ever tasted. With a few key ingredients and simple steps, you can achieve a crispy yet chewy texture that will leave your taste buds begging for more. Get ready to elevate your pizza game and impress your friends with this innovative and delicious recipe.
The Importance of a Good Pizza Crust
You know that a good pizza crust is essential for the perfect slice. It’s the foundation on which all delicious toppings are placed, and it can make or break your pizza experience.
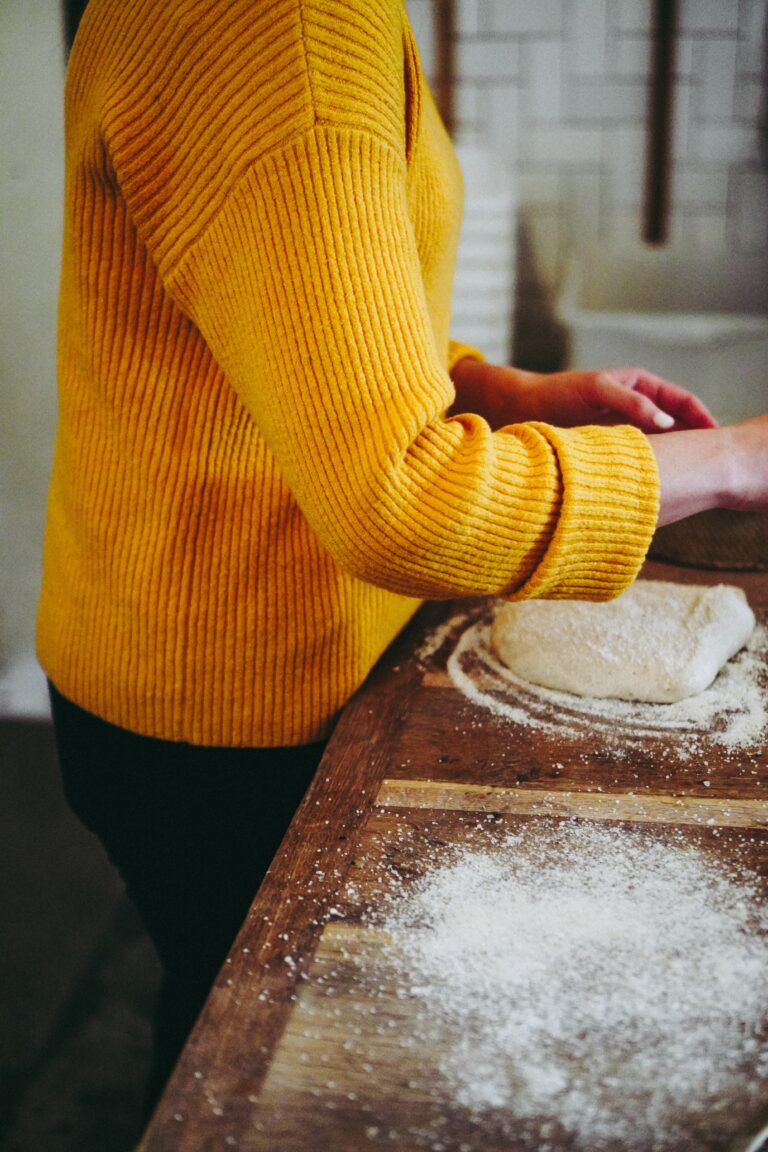
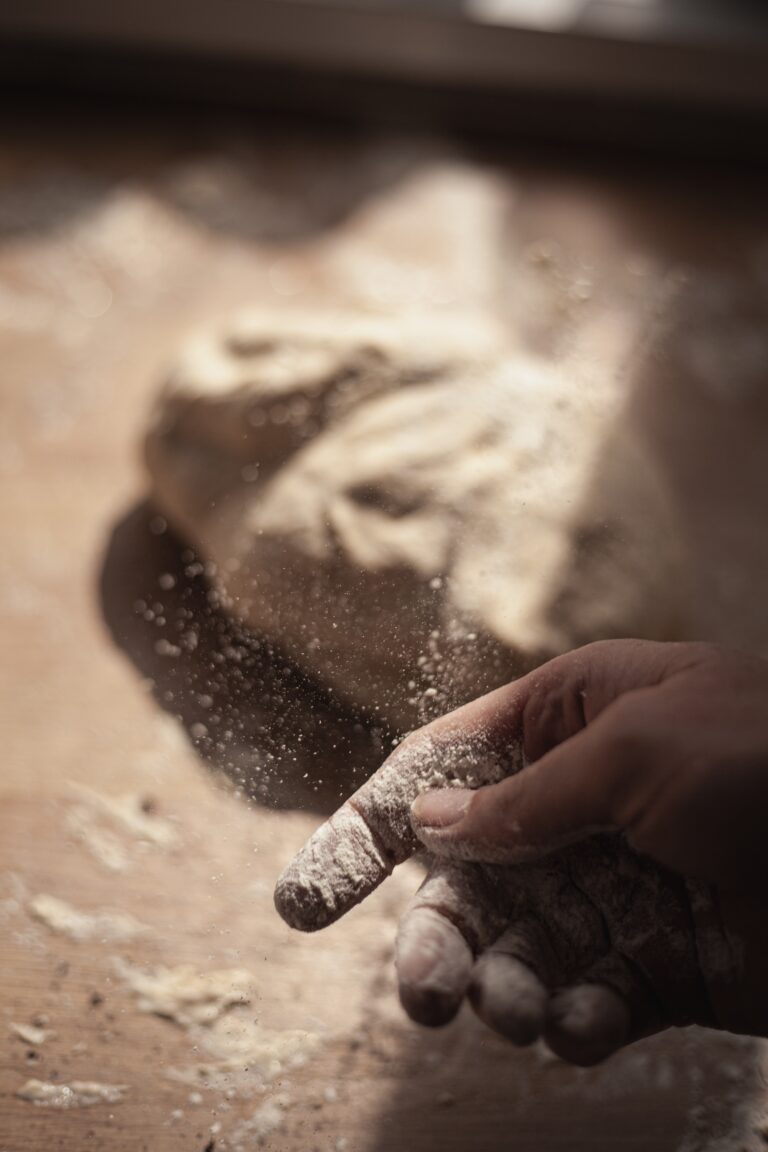
One of the critical factors in achieving a great crust is the importance of kneading. Kneading is working the dough to develop gluten, which gives the crust its structure and chewiness. By kneading the dough properly, you ensure it rises evenly and has a light texture.
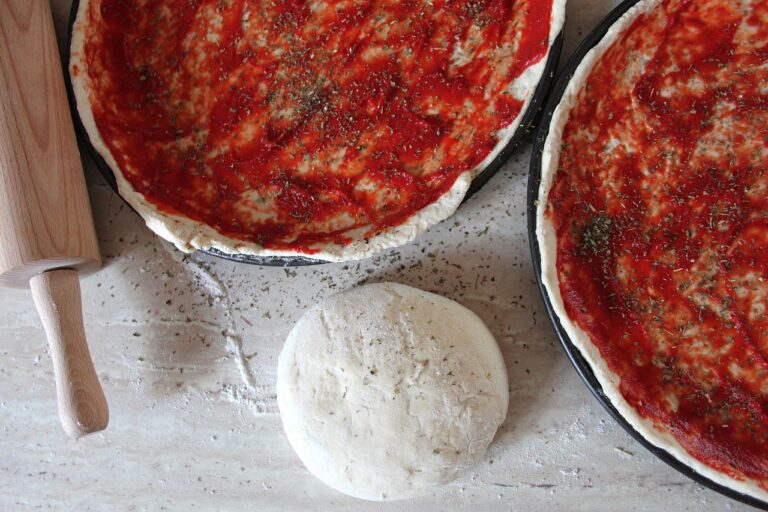
In addition to kneading, another technique that can elevate your pizza crust is pre-baking. Pre-baking involves partially baking the crust before adding toppings. This step has several benefits. Firstly, it helps to prevent a soggy bottom by creating a barrier between the sauce and cheese and absorbing any excess moisture from them. Pre-baking lets you achieve a perfectly crispy crust without overcooking your toppings.
By understanding the importance of kneading and utilizing techniques like pre-baking, you can take your homemade pizza crust to new heights. These innovative approaches will result in a crust that is not only beautifully golden and crispy but also has a fantastic texture that perfectly complements your choice of toppings. So, next time you’re making pizza at home, don’t underestimate the power of these techniques in creating an outstanding pizza crust.
Key Ingredients for the Perfect Pizza Dough
When it comes to making the perfect pizza dough, several key factors must be considered.
Firstly, the type of flour used plays a crucial role in the texture and flavor of the crust.
You’ll also need to decide whether to use yeast or sourdough as your leavening agent, each imparting its unique characteristics.
Lastly, understanding the importance of hydration levels in your dough will ensure a tender and crispy crust that is just right.
Flour Types for Dough
Combining all-purpose flour and bread flour will result in a chewier pizza crust. However, there are also other flour options available that can add unique flavors and textures to your dough.
Try almond flour or a gluten-free all-purpose blend for those seeking gluten-free alternatives. Almond flour adds a nutty flavor and creates a lighter, crispier crust.
On the other hand, the gluten-free all-purpose blend provides a similar texture to traditional wheat-based flours without compromising taste.
Experimenting with different flour types allows for innovation in your pizza crust recipe. Whether looking for a classic chewy crust or exploring gluten-free options, choosing the suitable flour is essential for creating the perfect base for your favorite toppings.
Yeast or Sourdough?
Consider using sourdough starter in your pizza dough for a tangy and flavorful twist. While yeast is the traditional choice for making pizza crust, sourdough offers a unique taste and texture that can take your homemade pizzas to the next level.
One main advantage of sourdough is its natural fermentation process, which results in a complex flavor profile and a chewier crust. Additionally, sourdough has some health benefits as it breaks down gluten and makes the dough easier to digest.
On the other hand, yeast provides a quicker rise time and a more predictable outcome. It’s also easier to maintain compared to maintaining a sourdough starter.
Ultimately, the choice between yeast or sourdough depends on your preference for taste and texture and how much time you’re willing to invest in making your pizza crust.
Importance of Hydration
To achieve a light and airy texture, hydrate your dough correctly. Proper hydration is essential for creating the perfect pizza crust. Hydration refers to adding water to your dough, allowing it to absorb and bind with the other ingredients. This helps activate the yeast and enhances gluten formation, resulting in a chewy yet tender crust.
Hydrating your dough offers several benefits. Firstly, it improves the overall texture of the crust, making it lighter and more enjoyable to eat. Secondly, adequate hydration promotes better fermentation, enhancing flavor development and a well-risen crust. Lastly, hydrated dough is easier to work with during shaping and stretching.
Here are some popular hydration techniques used by professional pizza makers:
| Technique | Description |
|---|---|
| Autolyse | Mixing flour and water before adding other ingredients for improved gluten development |
| Cold Fermentation | Retarding dough in the refrigerator overnight for enhanced flavor and easier handling |
| Folding | I repeatedly fold and stretch the dough during bulk fermentation for increased elasticity. |
| High Hydration | Using a higher water-to-flour ratio for a lighter and crispier crust |
Step-by-Step Instructions for Making Pizza Dough
Mix the flour, yeast, salt, and water in a large bowl. This is the foundation of any great pizza dough recipe. Once you have combined these ingredients, it’s time to knead the dough. Kneading is an essential step that helps develop gluten and create a light and chewy crust.
Here are some pizza dough kneading techniques to consider:
-
Traditional Hand-Kneading: This involves using your hands to push, fold, and stretch the dough repeatedly until it becomes smooth and elastic.
-
Stand Mixer: If you have a stand mixer with a dough hook attachment, you can let it do most of the work. Place the ingredients in the bowl and let the mixer mix quickly until the dough comes together.
Now that we’ve covered traditional kneading techniques let’s explore alternative pizza crust options:
-
Gluten-Free Crust: For those who follow a gluten-free diet or have gluten sensitivities, many alternative flours, such as almond or chickpea flour, can make a delicious gluten-free crust.
-
Cauliflower Crust: A popular choice among those looking for a low-carb option, cauliflower crust combines grated cauliflower with cheese and other ingredients to form a sturdy base for your toppings.
Tips for Achieving the Best Crispy Crust
To achieve the best crispy crust for your pizza, consider three key factors: ideal dough consistency, baking temperature, and time.
Firstly, the dough should be elastic and slightly sticky when touched, ensuring a light and airy texture once baked.
Secondly, preheating your oven to a high temperature of around 475-500°F (245-260°C) will create the perfect environment for a crispy crust.
Lastly, the baking time may vary depending on your oven and the thickness of the pizza, but generally, it should take about 12-15 minutes until the crust is golden brown and crispy.
Ideal Dough Consistency
The ideal dough consistency for the best pizza crust recipe is achieved when it’s smooth and slightly tacky. This ensures that the dough will be easy to work with, resulting in a perfectly crispy yet chewy crust. To help you understand the characteristics of ideal dough consistency, here is a table detailing its appearance and texture:
| Appearance | Texture |
|---|---|
| Smooth | Slightly tacky |
| Elastic | Soft |
| Uniform color | Springy |
| No lumps or bumps | Light |
| Shiny | Stretchy |
To troubleshoot any issues with your dough consistency, refer to this table and make adjustments accordingly. For example, if your dough appears dry or crumbly, add a little more water. On the other hand, if it feels too wet or sticky, sprinkle some flour while kneading. Remember that achieving the perfect dough consistency may require some practice, but once you master it, your homemade pizza will reach new heights of deliciousness!
Baking Temperature and Time
Achieving the perfect baking temperature and time is crucial for a delicious homemade pizza. To create a crispy crust on the outside and chewy on the inside, you need to master the art of baking techniques.
Start by preheating your oven to 500°F (260°C) or as high as possible. This high heat will ensure that your crust gets a nice golden brown color while maintaining its texture.
As for the baking time, it usually takes around 10-15 minutes for thin-crust pizzas and 15-20 minutes for thicker ones. However, every oven is different, so it’s essential to test variations in temperature and time until you find what works best for your desired outcome.
Don’t be afraid to experiment and innovate with these variables to create your perfect pizza crust!
Secrets to a Flavorful and Chewy Pizza Crust
Mixing the right amount of yeast and water will give you a flavorful and chewy pizza crust. But to take your pizza crust to the next level, you should know a few secrets. First, consider using alternative crust options for added flavor and texture. For example, incorporating herbs like rosemary or garlic into your dough can add a unique twist. You can also experiment with different types of flour, such as whole wheat or gluten-free, to cater to specific dietary needs.
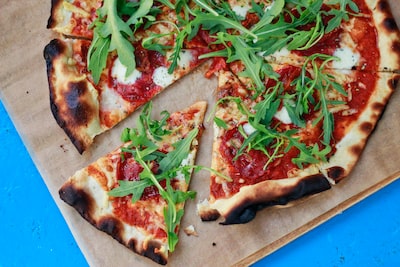
To make your pizza even more exciting, don’t forget about the toppings! A flavorful combination of ingredients can elevate your pizza experience. Add elements like caramelized onions, roasted garlic, or sun-dried tomatoes for an extra flavor. And don’t be afraid to get creative – try out unique combinations like figs, goat cheese, prosciutto, and arugula.
Here’s a table showcasing some innovative topping ideas:
| Toppings | Description |
|---|---|
| Caramelized Onions | Sweet and savory flavor |
| Roasted Garlic | Rich and aromatic |
| Sun-dried Tomatoes | Intense tomato taste |
| Figs and Goat Cheese | The sweetness of figs balanced with tangy cheese |
| Prosciutto and Arugula | Saltiness from prosciutto paired with peppery arugula |
Different Types of Pizza Crusts to Try
Now that you’ve mastered the secrets to a flavorful and chewy pizza crust let’s dive into the exciting world of different types of pizza crusts. With endless possibilities, you can experiment with various toppings and create unique flavor combinations to satisfy your taste buds.
One popular type is the thin crust, which offers a crispy texture and allows the flavors of the toppings to shine through. It’s perfect for those who prefer a lighter option or enjoy a slight crunch in every bite.
If you’re looking for something heartier, try a deep-dish crust. This thick and doughy crust is known for holding abundant toppings without becoming soggy. The combination of gooey cheese, savory sauce, and generous amounts of delicious toppings makes this style irresistible.
For those with dietary restrictions, gluten-free options are available too! Many pizzerias now offer gluten-free crusts from alternative flour like rice or almond flour. These crusts provide a tasty solution for individuals sensitive to gluten but still crave that classic pizza experience.
So go ahead and get creative with your pizza crust! Whether exploring different thicknesses or experimenting with unique ingredients, there’s no limit to what you can achieve when creating the perfect pizza base for your favorite toppings.
Troubleshooting Common Pizza Crust Problems
If your pizza crust comes out too dense or chewy, it could result from over-kneading the dough. To troubleshoot this issue, try reducing the kneading time and give the dough some extra time to rise. The perfect rising temperature for pizza dough is around 75°F (24°C). You can achieve this by preheating your oven to its lowest setting, turning it off, and placing the dough inside with the door slightly ajar. This method creates a warm environment that promotes yeast activity and helps the dough rise properly.
Another common problem is burnt crusts. To fix this issue, check your oven temperature before baking. Invest in an oven thermometer to ensure accuracy. If your crust still tends to burn even at lower temperatures, try par-baking it before adding toppings. This means partially baking the crust without any toppings for a few minutes until it’s just starting to turn golden brown. Then remove it from the oven, add your desired toppings, and finish baking until golden and bubbly.
