How to Make Breadsticks
Do you want to learn how to make delicious, homemade breadsticks that will impress your friends and family? Look no further! This article will guide you through the step-by-step process of creating mouthwatering breadsticks from scratch. With a few simple ingredients and some handy tips, you can whip up these delectable treats in no time. Get ready to elevate your baking game and become a breadstick master. Let’s get started!
Gathering the Ingredients
First, you’ll need to gather all the ingredients to make breadsticks. A few tips and tricks can help you achieve delicious results, whether you want to make gluten-free breadsticks or experiment with alternative ingredients.
For gluten-free breadsticks, use alternative flour such as almond or rice flour instead of wheat flour. These flours provide a lighter texture and enhance the flavour profile.
Next, gather your wet ingredients, which typically include eggs, water, and olive oil. For a twist on traditional breadsticks, consider adding rosemary or garlic powder for flavour. Don’t forget about the yeast – it gives the breadsticks a light and airy texture! You can opt for instant or active dry yeast, depending on your preference.
For those seeking even more innovation in their breadstick recipe, try mixing grated cheese, such as Parmesan or cheddar, into the dough. This will add a delightful cheesy taste to each bite.
Lastly, ensure you have baking essentials such as salt and sugar to balance the flavours.
With these tips and alternative ingredients, you can embark on an innovative journey toward creating mouthwatering gluten-free breadsticks that will impress even the most discerning palates!
Mixing the Dough
When mixing bread dough, there are several vital points to remember.
First and foremost, understanding the essential ingredient ratios is crucial for achieving the perfect texture and flavour. Additionally, knowing how to knead the dough properly is vital to developing gluten and creating a light, airy crumb structure.
Finally, achieving optimal dough consistency ensures that your bread turns moist and tender.
Essential Ingredient Ratios
One critical ingredient ratio for making breadsticks is the combination of flour, water, and yeast. These three elements work together to create a light, airy, and flavorful dough.
However, if you are lacking one or more of these ingredients, you can try possible substitutions. For example, if you don’t have yeast, you can use baking powder instead to help the dough rise. Similarly, if you’re out of flour, you can experiment using alternative flours, such as almond or whole wheat flour, for a different taste and texture.
Minor adjustments in ingredient quantities can make a big difference when troubleshooting common dough problems like dryness or stickiness. If your dough feels too dry and crumbly, add more water gradually until it reaches the desired consistency. On the other hand, if your dough is sticky and hard to handle, sprinkle some additional flour onto your working surface while kneading.
Being open to ingredient substitutions and understanding how to troubleshoot common dough problems will allow you to innovate and create delicious breadsticks, even with limited resources or unexpected challenges in the kitchen.
Kneading Techniques Explained
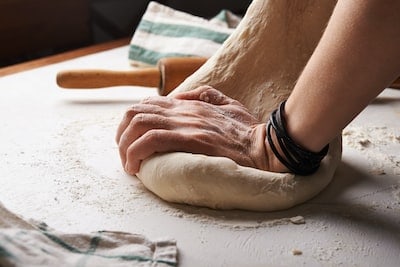
To achieve a smooth and elastic dough, it’s important to knead the ingredients together until they are well combined. Kneading is a critical step in breadstick making, as it develops the gluten strands that give these tasty treats their desirable texture.
Here are four key points to keep in mind when kneading your dough:
-
Time: The time you spend kneading directly affects the outcome of your breadsticks. Aim for 10 minutes of vigorous kneading to ensure proper gluten development.
-
Technique: Use the heel of your hand to push the dough away from you, then fold it back over itself and repeat. This motion helps stretch and align the gluten strands.
-
Consistency: As you knead, pay attention to the surface of the dough. It should be slightly tacky but not sticky or too dry.
-
Shapes: Get creative with different forms! From classic long sticks to twists and knots, experimenting with various shapes adds visual appeal to your breadsticks.

Optimal Dough Consistency
Achieving the optimal dough consistency is crucial for creating irresistibly delicious breadsticks. To achieve this, you must focus on two key elements: dough hydration and yeast activation.
Dough hydration refers to the amount of water in the dough mixture. It plays a significant role in determining the texture and taste of your breadsticks. Aim for a higher hydration level by adding slightly more water to your dough mixture for a lighter and more tender result.
Yeast activation is another critical factor in achieving that perfect consistency. Activate the yeast by dissolving it in warm water before adding it to your dough mixture. This step ensures that the yeast will ferment properly and release carbon dioxide, resulting in a light and airy texture for your breadsticks.
Resting Time Importance
During the resting time, the dough will rise and double in size. This step is crucial in breadstick making, allowing the yeast to work its magic. Patience is critical here, as a longer rest can yield numerous benefits.
Firstly, it improves gluten development, producing a chewier and more flavorful breadstick. Secondly, a longer resting time enhances fermentation, which adds complexity to the taste profile of your breadsticks. Additionally, this extended rest period increases the volume and lightness of the final product.
Shaping the Breadsticks
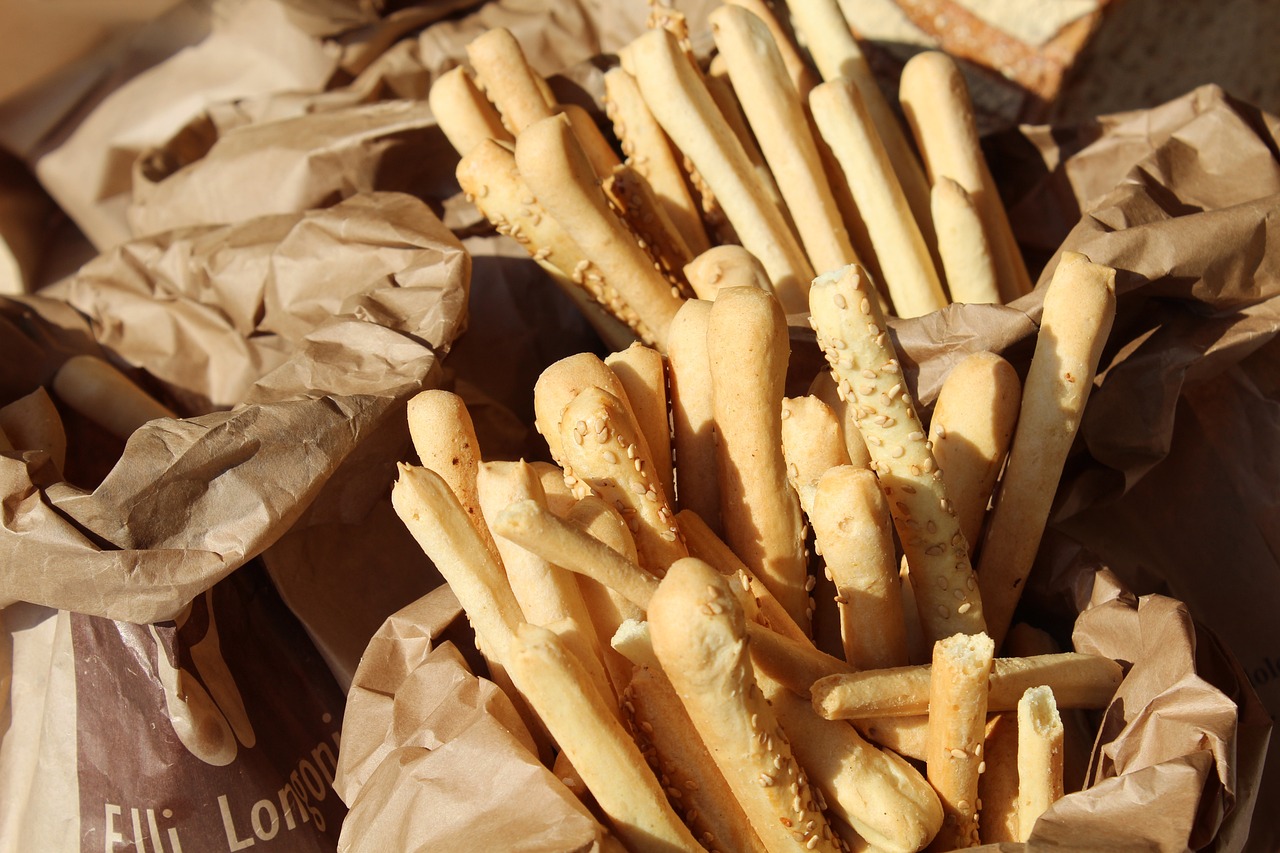
To shape the breadsticks, you must roll out the dough and cut it into long, thin strips. Here are some innovative breadstick shaping techniques that will help you achieve uniform thickness:
-
Rolling Pin Method: Roll out the dough with a rolling pin to an even thickness of about 1/4 inch.
-
Hand Stretching Technique: Gently stretch each strip of dough between your hands to create a thinner and longer breadstick.
-
Twisting Method: Hold both ends of a strip and twist it in opposite directions to create a spiral-shaped breadstick.
-
Braiding Technique: Take three strips of dough and braid them together for an attractive braided breadstick.
-
Cutting with Scissors: Instead of using a knife, try cutting the dough into strips using kitchen scissors for precise and even cuts.
By utilizing these techniques, you can ensure that each breadstick is shaped uniformly, making it visually appealing and providing consistent baking.
Achieving uniform thickness in your breadsticks will result in evenly baked treats that are crispy and soft on the outside. So get creative with your shapes and enjoy making these delicious homemade breadsticks!
Baking the Breadsticks
Once the dough has been shaped, it’s time to bake the breadsticks in a preheated oven. Baking is crucial in creating perfectly golden and crispy breadsticks that will leave your taste buds craving more. To achieve optimal results, it’s essential to understand and utilize the proper baking techniques.
Firstly, ensure your oven is preheated to the correct temperature specified in your recipe. This will ensure even heat distribution and proper cooking of the breadsticks. Place them on a lined baking sheet, allowing enough space between each stick to expand slightly during baking.
Next, consider using innovative techniques such as steam injection or convection baking. Steam injection creates steam within the oven, resulting in a crispier crust and tender interior. Convection baking uses fans to circulate hot air around the breadsticks, resulting in faster and more even cooking.
As for toppings, this is where you can truly exercise your creativity. Traditional options like garlic butter or parmesan cheese are always crowd-pleasers. Don’t be afraid to experiment with unique combinations such as caramelized onions with balsamic glaze or spicy buffalo sauce with blue cheese crumbles.
Adding Flavors and Seasonings
When adding flavours and seasonings, you can get creative and try out unique combinations that will take your breadsticks to a new level of deliciousness. Experimenting with different flavour combinations and seasoning techniques allows you to create breadsticks that are bursting with taste and aroma. Here are some innovative ideas to inspire your culinary journey:
| Flavor Combinations | Seasoning Techniques |
|---|---|
| Garlic and Parmesan | Brush melted garlic butter |
| Rosemary and Sea Salt | Sprinkle fresh rosemary |
| Sundried Tomato and Basil | Mix sundried tomato paste |
| Cheddar and Jalapeno | Top with shredded cheddar |
To achieve these delectable flavours, follow these steps:
- Start by making a basic breadstick dough using your favourite recipe.
- Once the dough has risen, divide it into individual portions.
- For garlic and parmesan flavour, brush the breadsticks with melted garlic butter before baking.
- To create rosemary and sea salt-infused breadsticks, sprinkle fresh leaves and a pinch of sea salt on top of each stick.
- Mix sundried tomato paste into the dough or spread it over the top for a tangy kick before baking.
- And for a cheesy delight, sprinkle shredded cheddar cheese over the breadsticks and diced jalapenos.
Serving and Storing Tips
For the best results, remember to store your freshly baked breadsticks in an airtight container to maintain their freshness and prevent them from drying out. But serving breadsticks is not just about keeping them fresh; it’s also about presentation and creativity.
Here are some tips on how to serve your homemade breadsticks innovatively.
Firstly, consider the serving presentation. Instead of placing the breadsticks on a plain plate, use a wooden cutting board or a rustic basket lined with parchment paper for a more appealing look. You can even arrange them in a spiral shape or create fun patterns to make them visually attractive.
To elevate the flavour experience, pair your breadsticks with creative dipping sauces. Think beyond traditional marinara and experiment with unique combinations such as roasted garlic aioli, sundried tomato pesto, or tangy balsamic reduction. These flavorful dips will add an extra layer of excitement to each bite.
Lastly, don’t be afraid to get creative with toppings! Sprinkle grated Parmesan or Asiago cheese over the breadsticks before baking for added richness. You can also brush them with melted butter infused with herbs like rosemary or thyme for an aromatic twist.
Variations and Recipe Ideas
Try experimenting with different herbs and spices in the dough mixture to add variety to your breadstick repertoire. Incorporating new flavours can elevate the taste and make them even more enticing.
Here are some variations and recipe ideas that will surely impress your guests:
-
Cheesy Garlic Breadsticks:
-
Mix shredded mozzarella cheese into the dough for a gooey and flavorful twist.
Brush the baked breadsticks with garlic butter for an extra burst of flavour.
-
Serve with marinara sauce or ranch dressing for dipping.
-
Herbed Olive Oil Breadsticks:
-
Add dried herbs like oregano, thyme, and rosemary to the dough for a fragrant aroma.
-
Replace butter with olive oil to create a lighter and healthier version.
-
Sprinkle coarse salt on top before baking for added texture.
-
Spicy Jalapeno Breadsticks:
-
Finely chop jalapenos and mix them into the dough for a kick of heat.
-
Top the breadsticks with shredded cheddar cheese before baking.
-
Serve with sour cream or cream cheese dip to balance out the spice.
With these variations and presentation ideas, you can transform simple breadsticks into gourmet appetizers that will leave everyone craving more. Get creative in your kitchen and enjoy exploring new flavours!

