The Secrets to Perfect Homemade Pizza Crusts: Tips and Techniques
Look no further if you’ve ever wondered how to make the perfect homemade pizza crust. This article will reveal the secrets and techniques to take your pizza-making skills to new heights.
You’ll learn about choosing suitable flour, mastering dough preparation, and understanding the importance of rising and resting times. We’ll also share tips on achieving the ideal thickness, shape, and baking techniques for a crispy and chewy crust. Get ready to impress your friends and family with your fantastic pizza creations!
Choosing the Right Flour for the Perfect Pizza Crust
When selecting the flour for your perfect pizza crust, it’s essential to consider its protein content. The protein in flour gives structure and elasticity to the dough, resulting in a chewy and light crust.
Plenty of alternative flour options are available. For a nuttier flavour, you can use whole wheat flour or experiment with different grains like spelt or rye.
For gluten sensitivities or who follow a gluten-free diet, there are also gluten-free options such as almond flour, rice flour, or tapioca starch. These alternatives may require some adjustments to the recipe and technique but can still yield delicious and satisfying pizza crusts that cater to your dietary needs.
Mastering the Art of Dough Preparation
To master dough preparation, you must focus on kneading and resting the dough. Here are some helpful tips to ensure your pizza crust turns out light and fluffy:
-
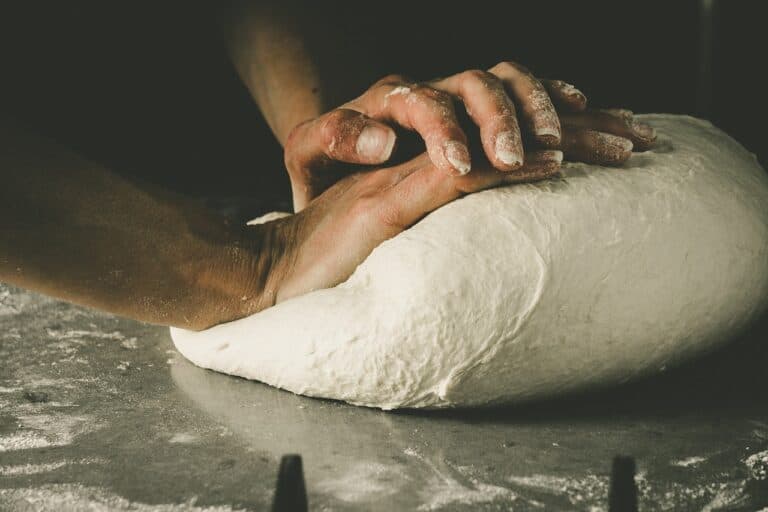
Knead with purpose: Use the heel of your hand to push the dough away from you, then fold it back over itself. Repeat this motion for 10 minutes until the dough becomes smooth and elastic.
-
Give it time to rest: After kneading, allow the dough to rest in a warm place for at least an hour. This will relax the gluten and make it easier to shape.
-
Troubleshoot common mistakes: If your crust is too dense or challenging, you may have over-kneaded the dough. Check that your yeast is fresh and active if it’s not rising correctly.
The Importance of Proper Rising and Resting Times
Allowing the dough to rest in a warm place for at least an hour is crucial in achieving a light and fluffy pizza crust.
This resting time is essential because it allows the yeast to activate and work magic. Yeast activation is crucial as it helps the dough rise by producing carbon dioxide gas, creating the airy pockets we love in a good pizza crust.
During this resting period, gluten development also takes place. Gluten is a protein found in wheat flour that gives the dough structure and elasticity. As the dough rests, gluten strands align and form a network, providing the crust with its chewy texture and ability to hold toppings without becoming soggy.
So be patient, let your dough rest, and you’ll be rewarded with a perfectly textured pizza crust every time.
Achieving the Perfect Thickness and Shape
Your pizza crust’s perfect thickness and shape can be quickly achieved by gently stretching and shaping the dough. Following a few simple tips, you can create unique pizza crust shapes that are visually appealing and delicious. To achieve a thin and crispy crust at home, roll out the dough to your desired thickness using a rolling pin or stretch it with your hands. You can also try different techniques like docking – poking small holes in the dough to prevent air bubbles – or par-baking the crust before adding toppings for extra crispiness. Experimenting with various shapes and thicknesses will allow you to create your signature pizza crust to impress your family and friends.
Here are some tips for creating unique pizza crust shapes:
| Shape | Description | Technique |
|---|---|---|
| Traditional | Round, classic shape | Hand stretching |
| Oval | Elongated shape | Rolling pin |
| Rectangular | Square or rectangle | Docking |
Baking Techniques for a Crispy and Chewy Crust
If you want a crispy and chewy crust, try experimenting with different baking techniques. Here are some tips to enhance your pizza crust:
- Preheating the oven at a high temperature will help create a crispier crust.
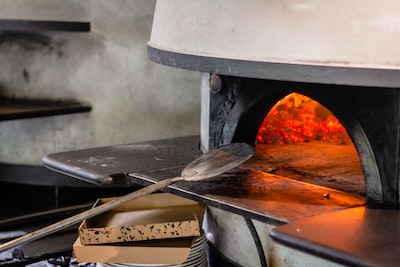
- A pizza stone or baking steel can distribute heat evenly, creating a more consistent texture.
- Par-baking the dough for a few minutes before adding toppings can prevent sogginess.
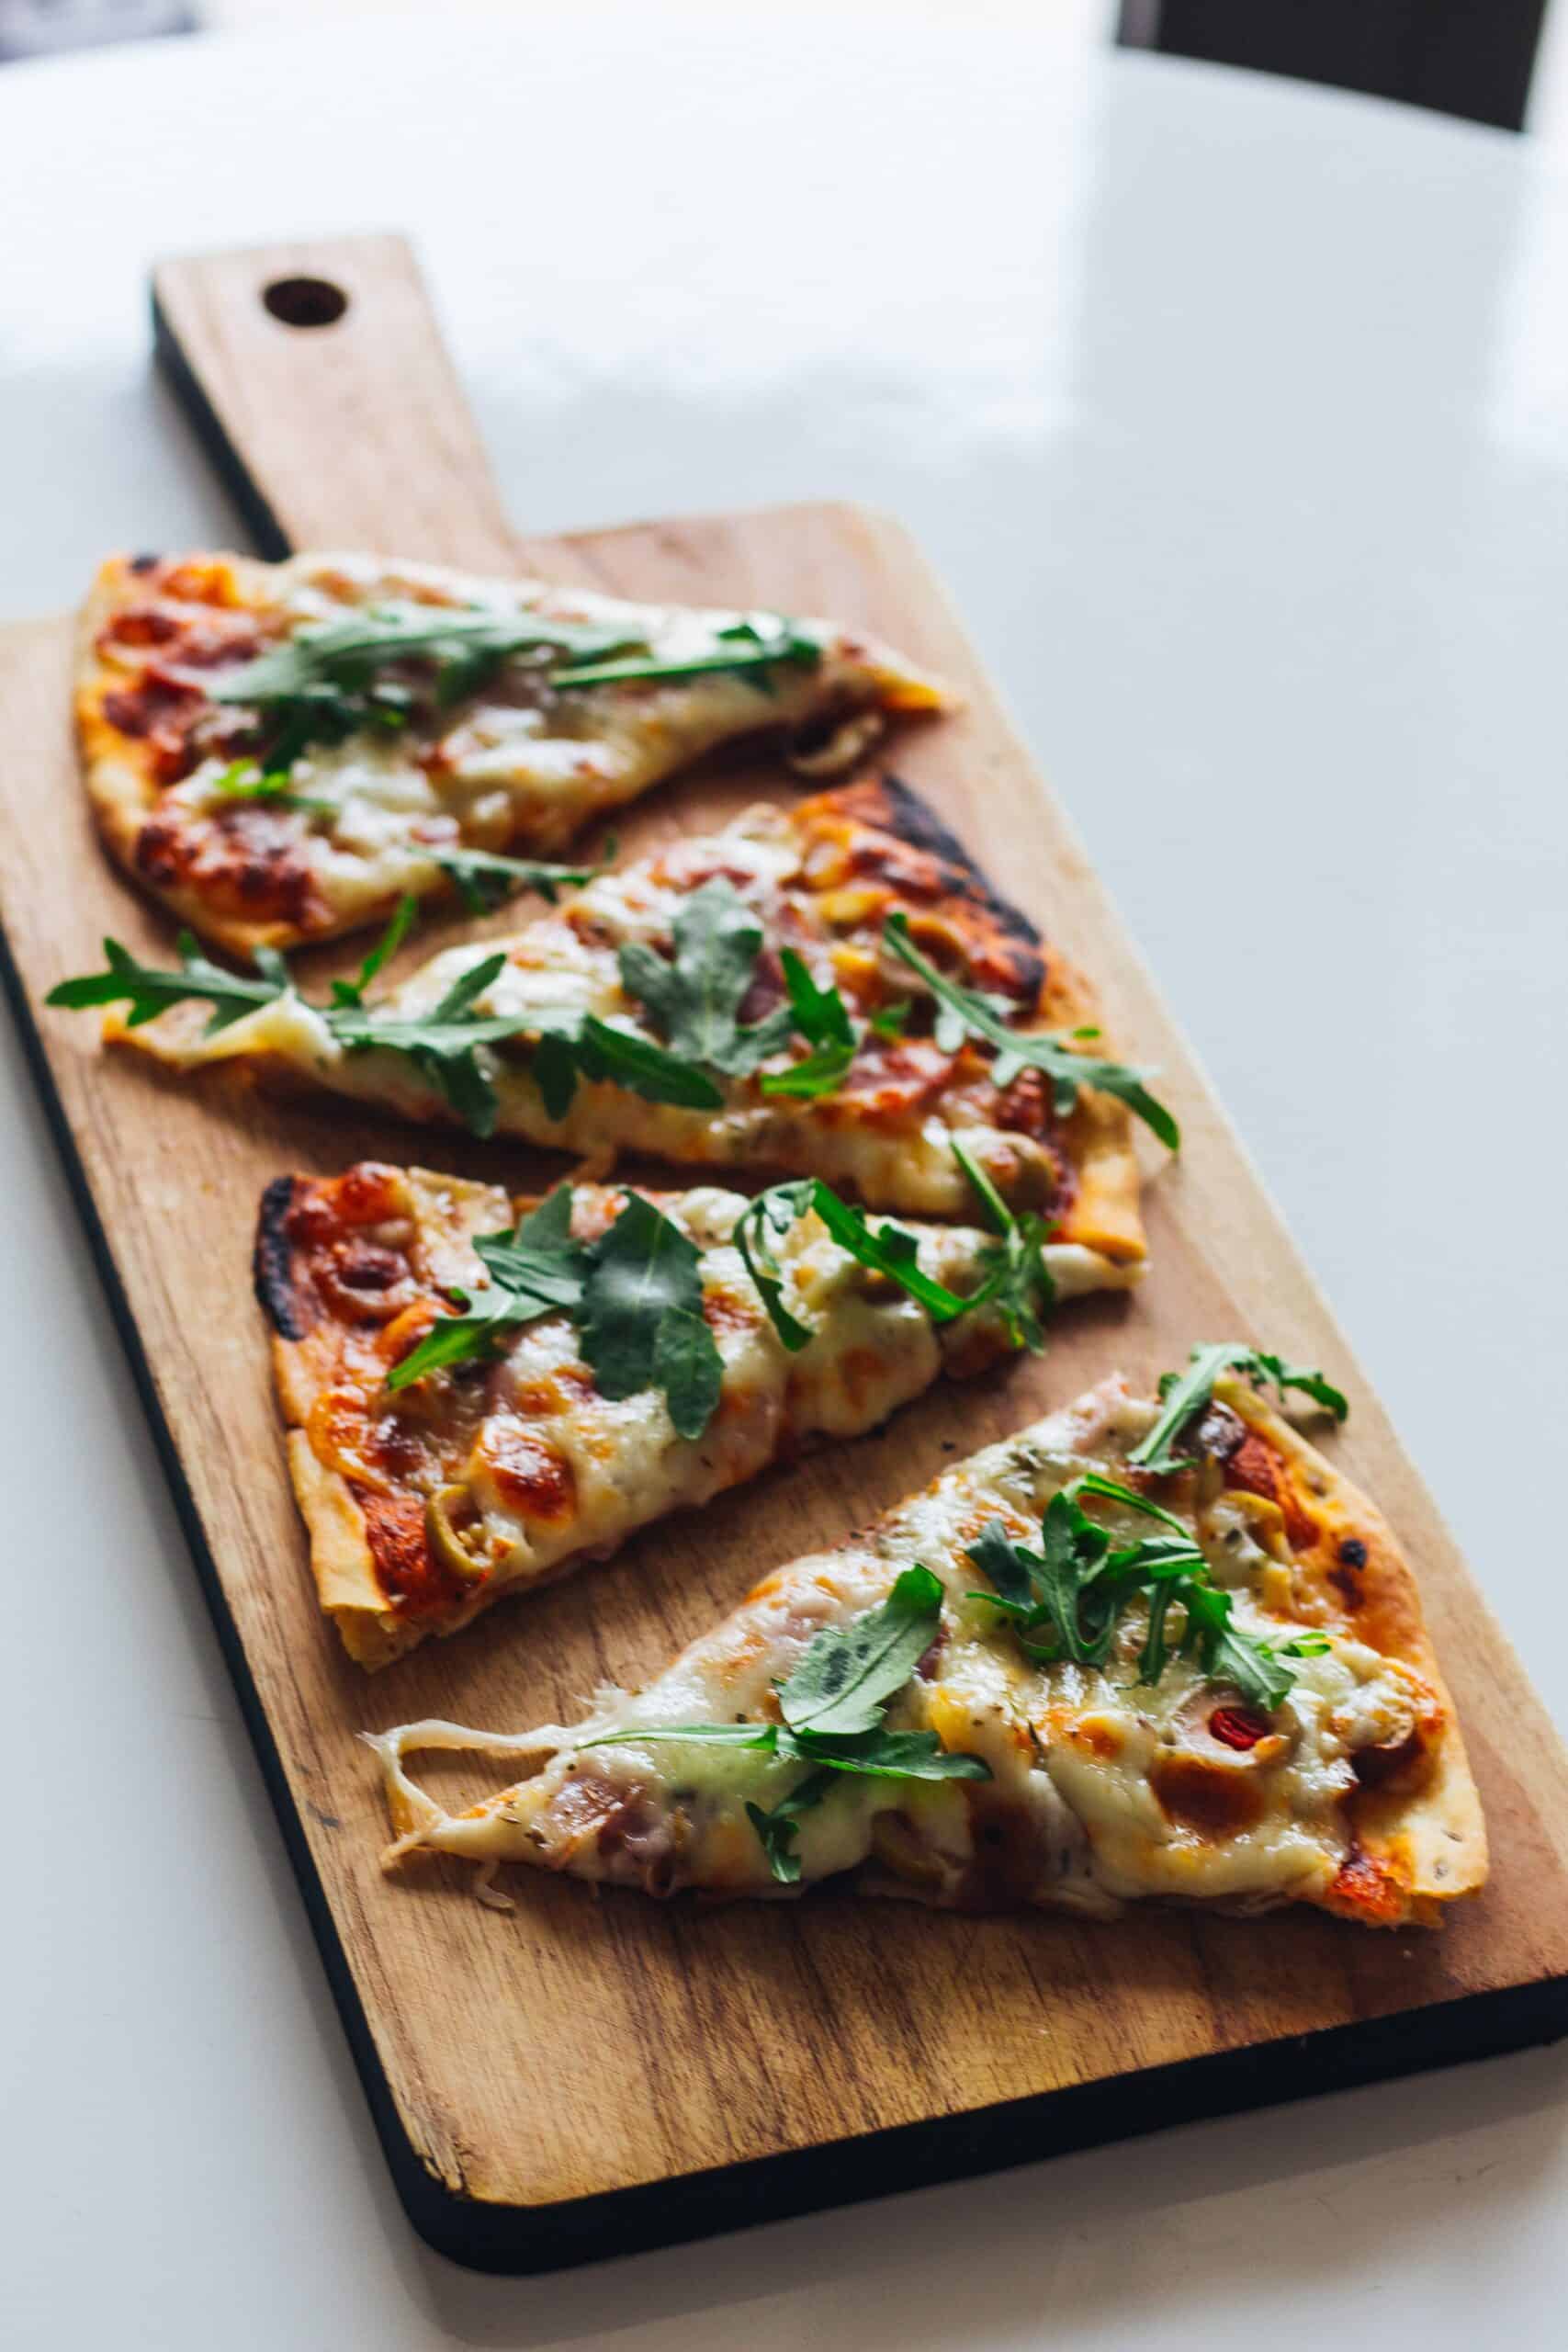
When it comes to flavour combinations, the possibilities are endless. You can top your crust with classic tomato sauce and mozzarella cheese for a traditional Margherita pizza. Or get creative with unique toppings like prosciutto and arugula for added flavour.
Frequently Asked Questions
What Common Mistakes to Avoid When Choosing the Right Flour for Pizza Crust?
When choosing flour for pizza crust, common mistakes to avoid include not considering the protein content and using the wrong type of flour. You can use alternative flours like whole wheat or almond, but be mindful of how they affect texture and taste.
Can I Use Gluten-Free Flour to Make a Perfect Homemade Pizza Crust?
You can use gluten-free flour to make a perfect homemade pizza crust. Here are some tips for achieving the perfect texture with gluten-free pizza dough: Use a blend of alternative flours and add xanthan gum for elasticity.
How Can I Prevent My Dough From Sticking to the Surface While Preparing It?
Dust your dough with flour or parchment paper to prevent it from sticking to the surface. If you don’t have a pizza stone, you can use a baking sheet or a cast-iron skillet.
Is It Necessary to Let the Dough Rise Twice for the Best Results?
To achieve the best results, let your dough rise twice. The importance of increasing the time cannot be overstated, as it allows the crust to develop a light and airy texture.
Are There Any Alternative Baking Techniques to Achieve a Crispy and Chewy Crust Besides Using a Pizza Stone?
Try alternative baking techniques to achieve a crispy crust without a pizza stone—experiment using a cast iron skillet or baking directly on a preheated sheet pan. For a chewy crust, consider adjusting the hydration level of your dough.
