Thin Pizza Crust Recipe
Looking for a deliciously thin pizza crust that will have your taste buds begging for more? Look no further!
This article will show you how to make the perfect thin pizza crust from scratch. With simple ingredients and easy steps, you can roll out a crispy yet chewy crust that will impress even the pickiest eaters. So grab your apron and get ready to dive into the world of homemade pizza perfection!
Ingredients for Thin Pizza Crust
The recipe for thin pizza crust requires only a few essential ingredients. When it comes to thin vs. thick crust, many pizza lovers prefer the former for its delicate and crispy texture. Making your homemade thin crust allows you to experiment with flavors and create a genuinely innovative pizza experience.
You will need all-purpose flour, yeast, salt, water, olive oil, sugar, and cornmeal to achieve that perfect thin crust. These simple ingredients work together to create a dough that is easy to roll into a thin disk. Unlike store-bought crusts, which can be thick and doughy, homemade thin crust allows the toppings to shine while providing enough support.
When comparing homemade vs. store-bought crusts, there’s no denying the satisfaction of crafting your culinary masterpiece from scratch. With homemade thin crusts, you have complete control over your pizza base’s thickness and flavor profile. You can experiment with different types of flour or add herbs and spices directly into the dough for extra flavor.
So why settle for mediocre when you can elevate your pizza game with a homemade thin crust? Get creative in the kitchen and let your taste buds be amazed by this simple yet innovative recipe!
Mixing and Kneading the Dough
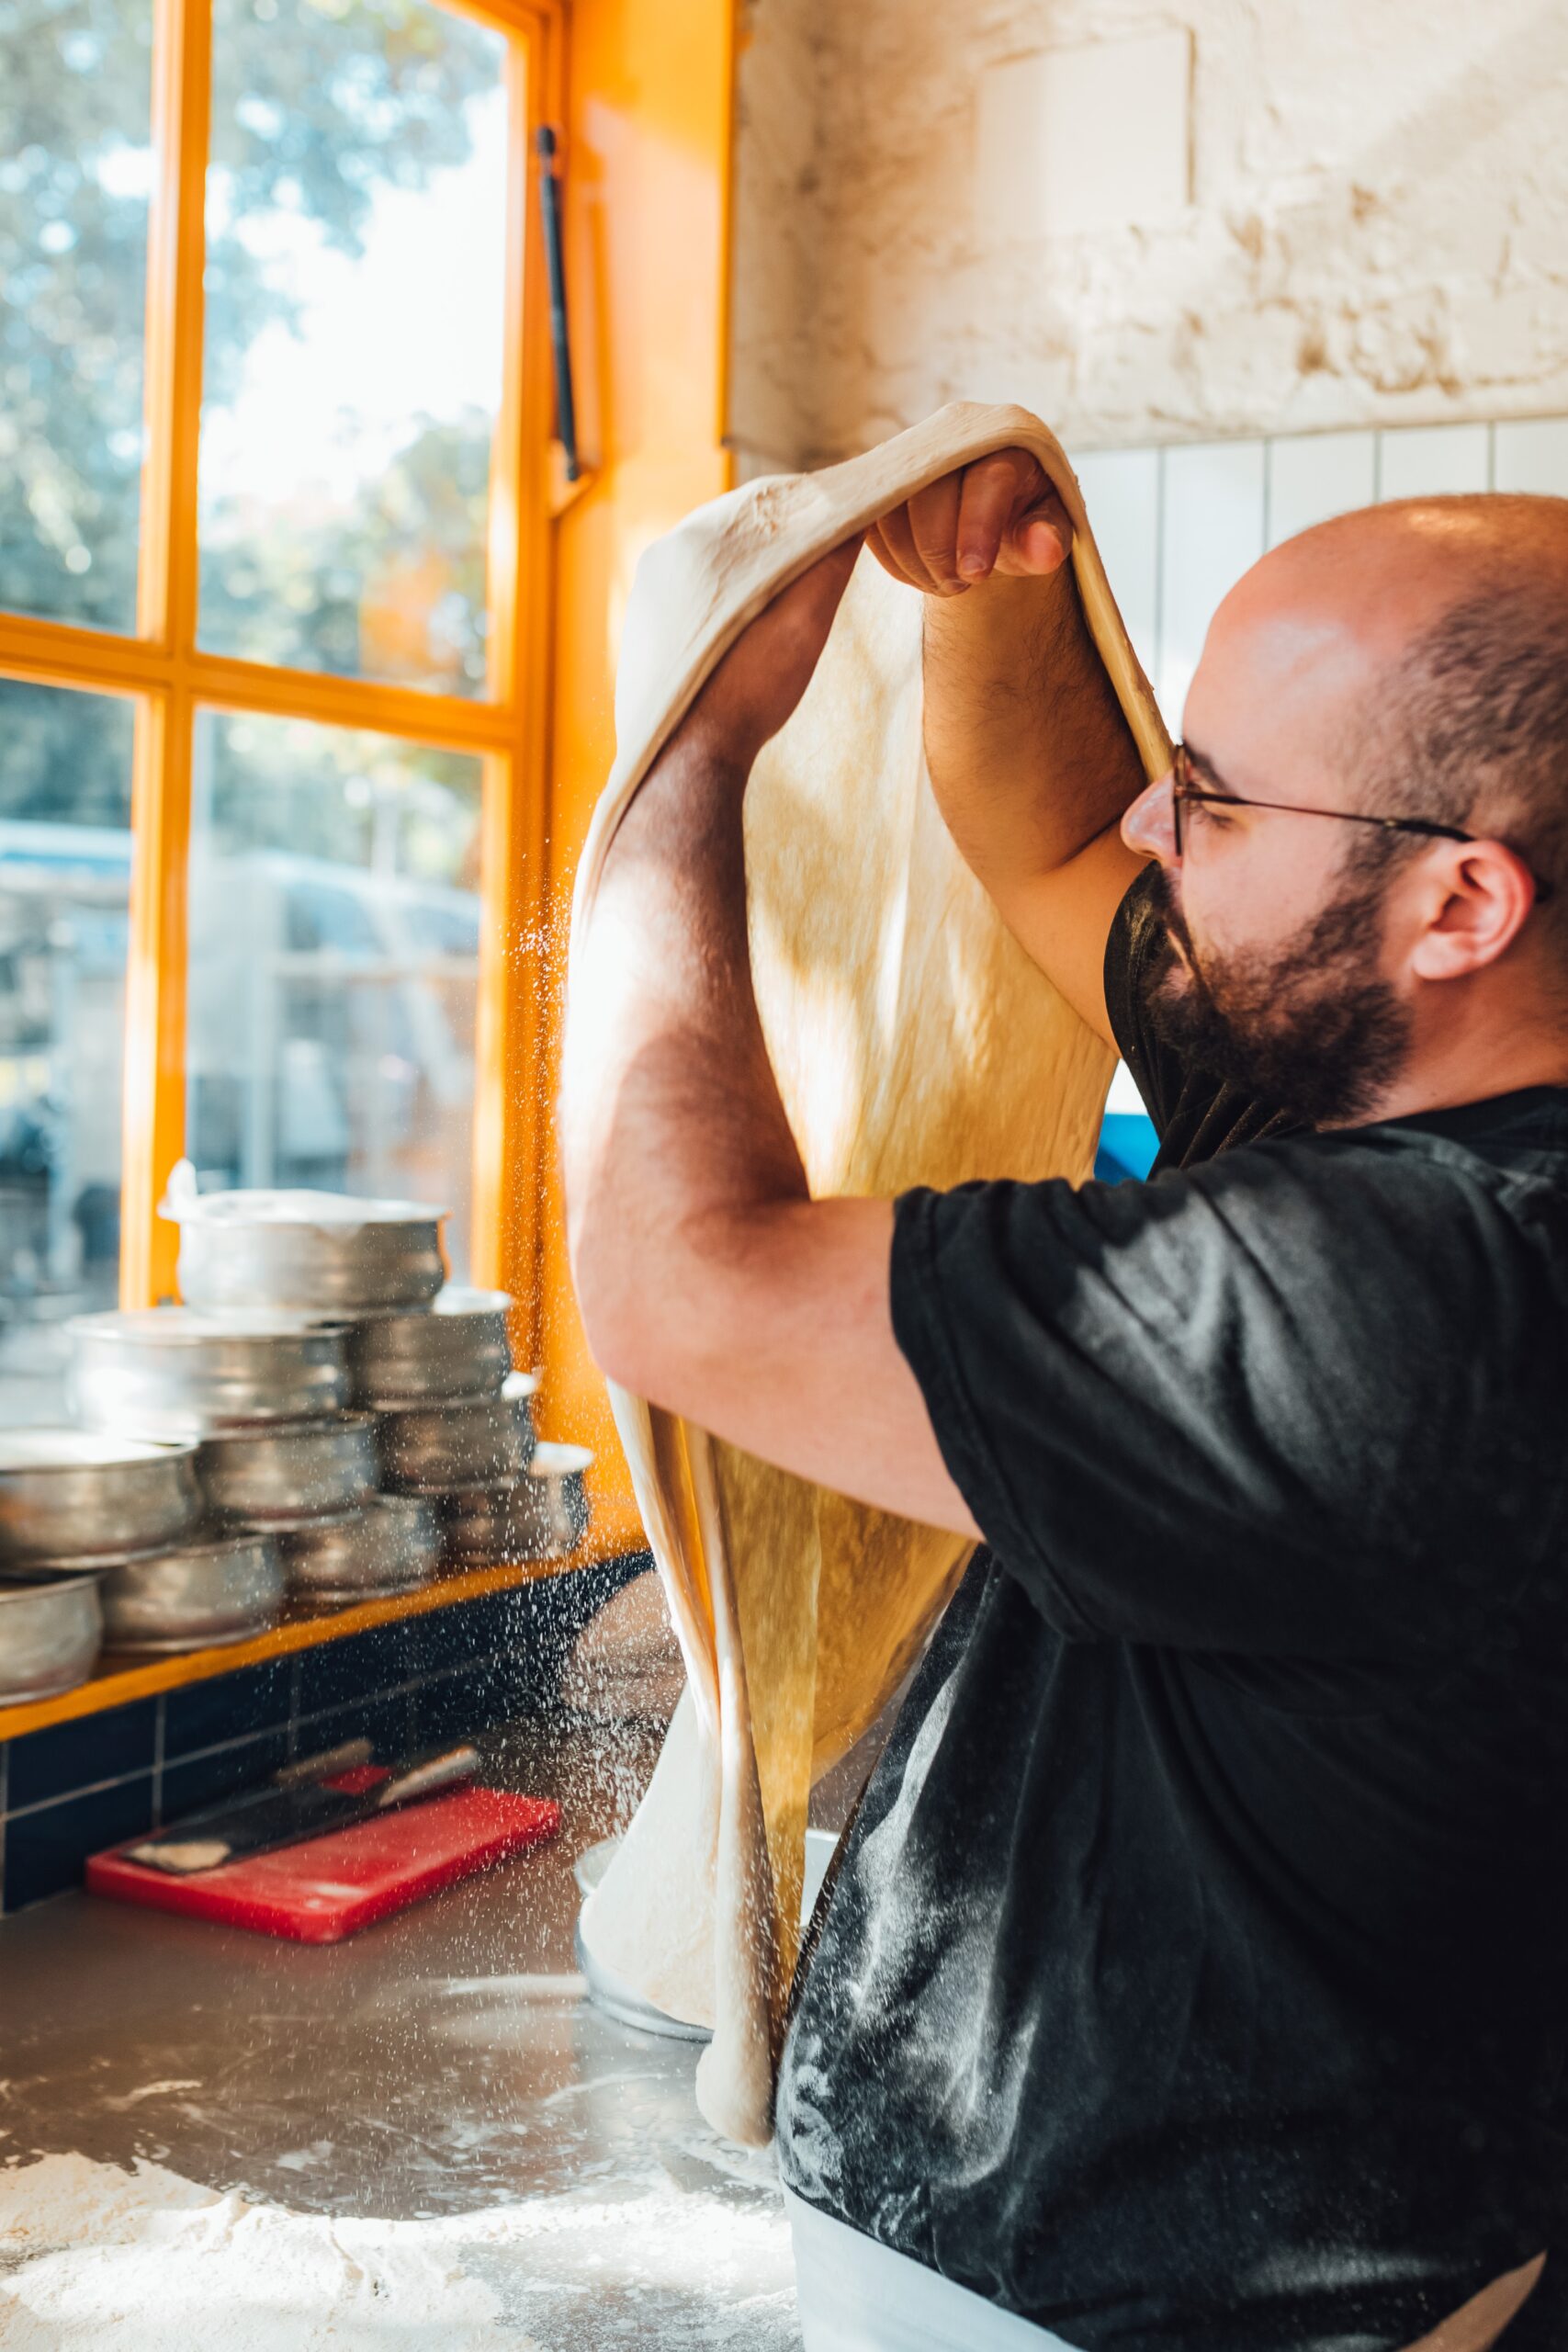
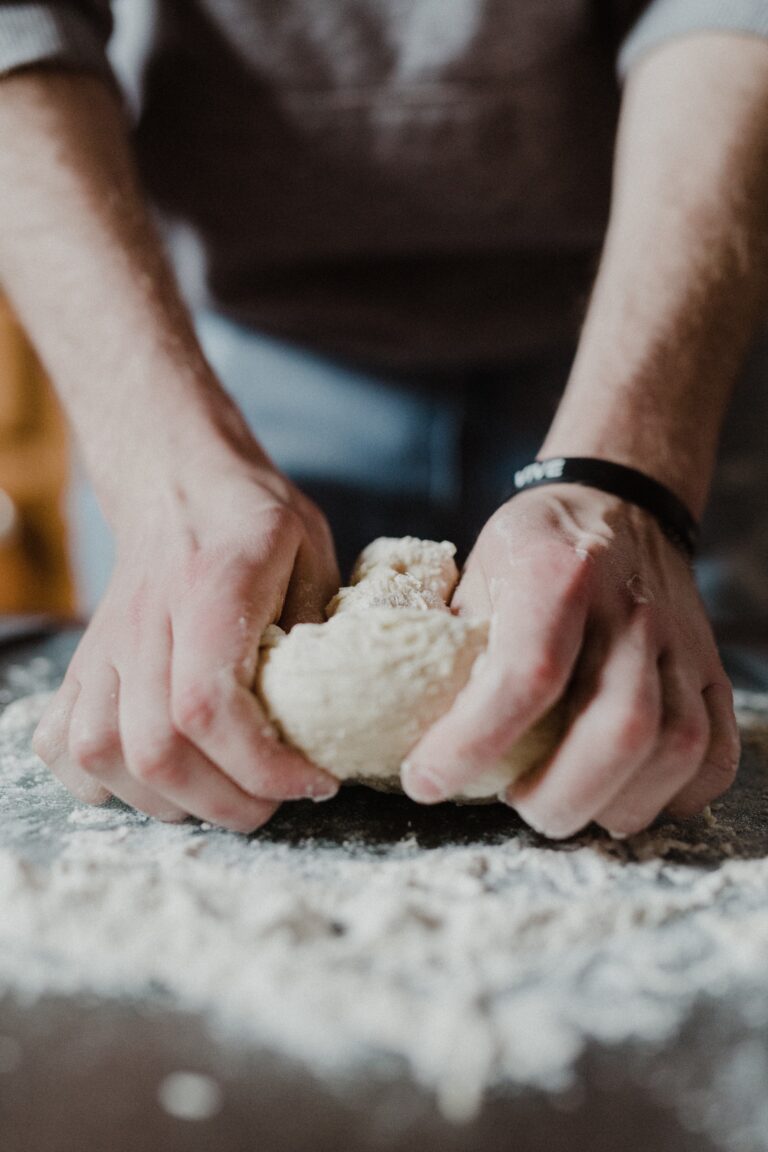
After you’ve gathered all the necessary ingredients, it’s time to start mixing and kneading your dough. Kneading is crucial in making thin pizza crusts as it helps develop gluten and creates a light and airy texture. It also ensures that all the ingredients are well incorporated. To achieve the perfect thin crust, mastering proper kneading techniques is essential.
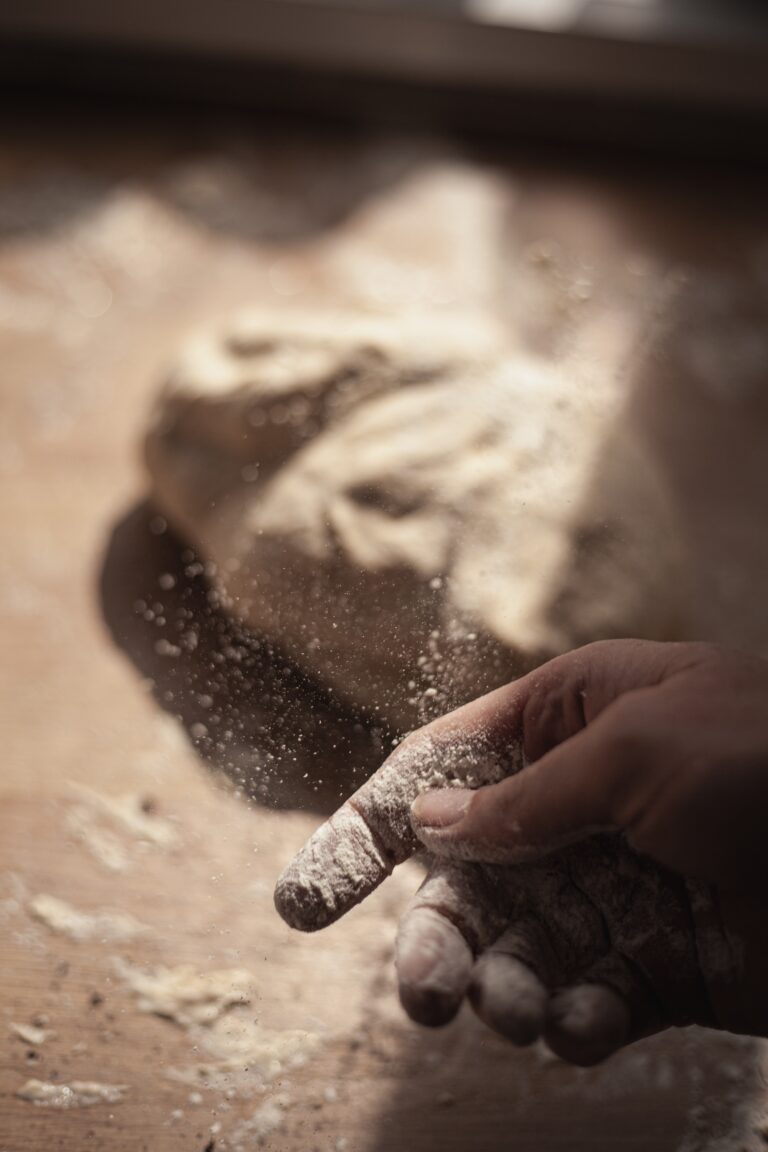
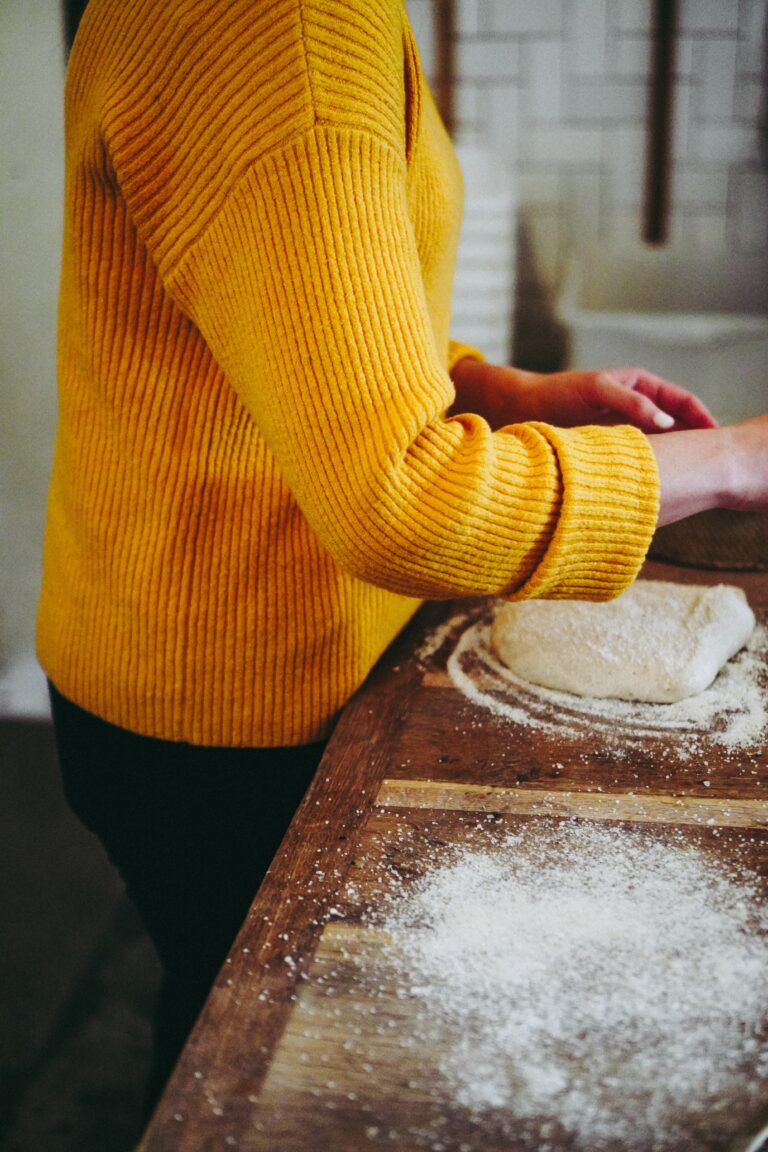
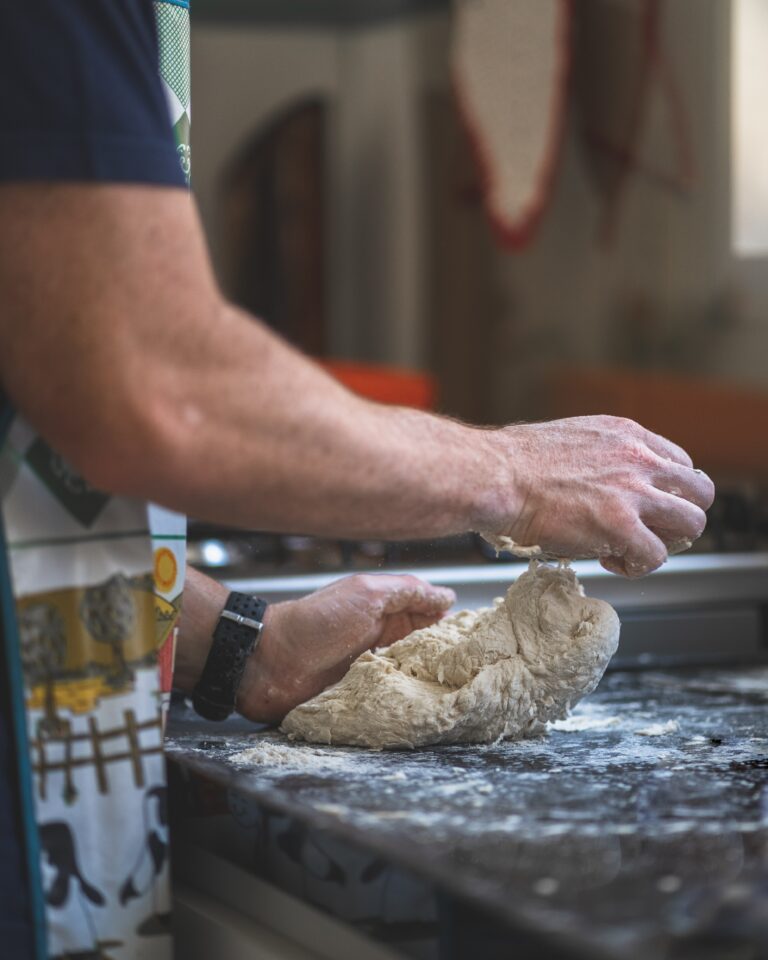
First, lightly flour your work surface and place your dough on it. With your hands, gently press down on the dough to flatten it slightly. Then, fold the edges towards the center and use the heel of your hand to push the dough away from you in a forward motion.
A helpful technique is to use a table like this:
| Step | Technique | Troubleshooting |
|---|---|---|
| 1 | Fold and press | Is dough too sticky? Add more flour. |
| 2 | Push away | Is the dough too dry? Sprinkle with water. |
| 3 | Rotate and repeat | Is dough not elastic? Knead longer. |
Continue this process for about 10 minutes or until your dough becomes smooth elastic and springs back when pressed with your finger.
Remember that practice makes perfect when it comes to kneading. So don’t be discouraged if it takes a few tries to get it right. Keep experimenting with different techniques until you find what works best for you!
Rolling Out the Pizza Crust
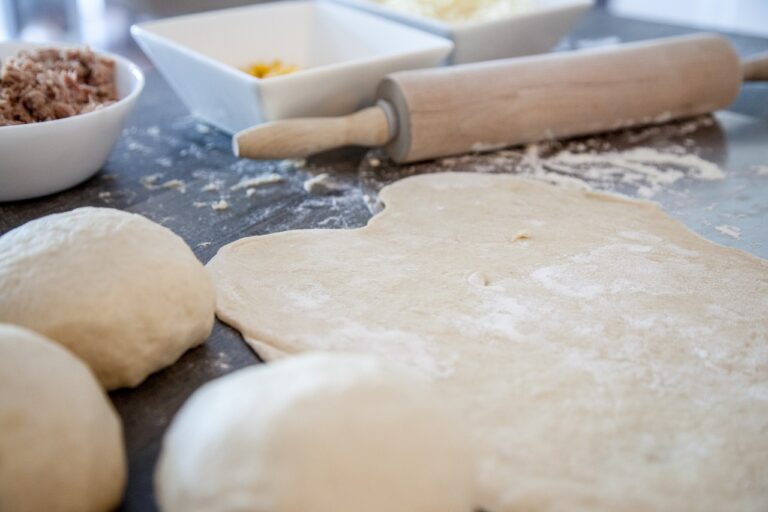
Once you have finished kneading the dough, it’s time to start rolling out your pizza crust. This step is crucial in achieving that perfect thin and crispy crust we love. Here are some tips to help you master the rolling technique and achieve the ideal dough thickness:
-
Use a lightly floured surface: Sprinkle a small amount of flour on your work surface to prevent the dough from sticking. Too much flour can make the crust dry, so use it sparingly.
-
Start from the center: Place the dough in the middle of your floured surface and begin rolling from the center outward. This will help distribute the pressure evenly and ensure an even thickness throughout.
-
Rotate and flip: As you roll, periodically rotate and flip the dough to maintain an even shape and prevent sticking. This will also help you achieve a round pizza crust.
Aim for a thickness of about 1/8 inch (3 mm) to achieve a thin crust. However, remember that personal preference plays a role here – some may prefer a slightly thicker or more delicate crust. Experiment with different thicknesses until you find what works best for you.
With these rolling techniques and attention to dough thickness, you can create delicious, thin pizza crusts that will impress!
Prepping the Crust for Baking
So, you’re ready to prep your pizza crust for baking. But there are a few critical decisions to make.
First, do you want to use yeast or choose a yeast-free option? This will affect the texture and rise of your crust.
Next, should you roll out the dough with a rolling pin or stretch it by hand? Each method has its benefits and can result in different thicknesses.
Lastly, should you pre-bake the crust before adding toppings or skip this step altogether? Pre-baking can help ensure a crispy crust, but it’s not always necessary.
Let’s dive into these options and find out what works best for you!
Yeast or No Yeast?
Using yeast in your pizza dough recipe is essential if you prefer a chewier crust. However, alternative options can add a unique flavor profile and texture when it comes to thin-crust pizzas.
One of these alternatives is using a sourdough starter. The benefits of using a sourdough starter for thin-crust pizza are twofold. Firstly, the natural fermentation process of the starter adds depth and complexity to the crust’s flavor. Secondly, the acidity created during fermentation helps break down proteins in the dough, resulting in a lighter and crispier final product.
On the other hand, different types of yeast can be used instead if you’re looking for convenience and speed. Instant yeast is ideal for those who want their thin-crust pizzas ready quickly. It requires no proofing and can be added directly to the dry ingredients. On the other hand, active dry yeast needs to be dissolved in warm water before use but provides similar results.
Whether you choose a sourdough starter or different types of yeast for your thin-crust pizza dough recipe depends on your flavor complexity or convenience preference. Experimenting with both methods can lead to innovative creations that impress your taste buds.
Rolling or Stretching?
When making a thin-crust pizza, you can choose between rolling or stretching the dough to achieve the desired thickness. Both methods have their advantages and techniques.
Rolling:
-
Roll out the dough using a rolling pin to create an even thickness.
-
This method allows for precise control over the thickness of the crust.
-
It is ideal for those who prefer a consistently thin and crispy crust.
Stretching: -
Gently stretch and pull the dough by hand to achieve the desired thinness.
-
This method creates irregular shapes and textures, adding a rustic charm to your pizza.
-
It requires some practice but can result in a lighter, chewier crust.
Whether you prefer the uniformity of rolled dough or enjoy the creative freedom of stretching, both methods can yield delicious thin-crust pizzas. Experiment with different techniques to find the perfect balance between thin and thick crusts.
Pre-Baking or Not?
Pre-baking can help achieve a crispier crust, whether rolling or stretching your dough. Pre-baking refers to partially baking the pizza crust before adding the toppings. This technique has several benefits that can elevate your pizza experience.
Firstly, pre-baking ensures the crust is thoroughly cooked and prevents it from becoming soggy when topped with sauce and ingredients. It also allows for better control over the final texture of the crust, resulting in a delightfully crispy bite.
Additionally, pre-baking opens up alternative crust options, such as cauliflower or gluten-free varieties. These alternative crusts often require extra attention to ensure they hold their shape, and pre-baking helps achieve this stability while enhancing their overall taste and texture.
So, next time you make pizza, consider trying pre-baking for a genuinely innovative and delicious result!
Baking the Thin Pizza Crust
When it comes to baking the perfect thin pizza crust, there are a few key factors that can make or break your final result. One of the most important considerations is whether you prefer a crisp or chewy crust. The cooking time and temperature also play a crucial role in achieving the desired texture.
Crisp vs. Chewy Crust
If you want a thin and crispy crust for your pizza, bake it at a higher temperature—the secret to achieving that perfect balance between crisp and chewy lies in the heat. By cranking up the oven, you create an environment that promotes rapid moisture evaporation from the dough, resulting in a delightful crunch. A high temperature also helps achieve that sought-after golden brown color on the crust’s surface.
But what about those who prefer a thicker, chewier crust? Fear not, for there is still hope! Adjusting the baking time and temperature allows you to transform your thin and crispy base into a thick and doughy delight. Lowering the heat and allowing for a more extended baking period enables the dough to rise more, creating a softer texture with just the right amount of chew.
So whether you lean towards crisp or chewy, thin or thick crusts, remember that experimenting with temperature and time can unlock endless possibilities for innovation in pizza making.
Cooking Time and Temperature
Now that you understand the difference between a crisp and chewy crust let’s dive into the next step of achieving the perfect thinness for your pizza crust: cooking time and temperature. These two factors are crucial in creating that light, crispy texture we love.
When it comes to cooking thin pizza crusts, high heat is critical. Preheat your oven to around 500 degrees Fahrenheit (260 degrees Celsius) or even higher if your range allows. This high temperature helps quickly cook the dough while ensuring it becomes golden brown.
In terms of cooking time, thin pizza crusts require less time in the oven than thicker ones. Typically, they only need about 8-10 minutes to achieve that desired thinness and crispiness. However, watch your pizza, as every oven varies slightly.
Topping and Serving the Thin Pizza Crust
Add your favorite sauce, cheese, and toppings to the top and serve your thin pizza crust. The beauty of thin-crust pizza lies in its versatility in toppings. Let your creativity run wild with various topping variations that will elevate your pizza game to new heights.
One innovative idea is to experiment with different sauces. While traditional tomato-based marinara sauce is always a classic choice, try pesto for a fresh and vibrant flavor or barbecue sauce for a tangy twist. You can even combine multiple sauces for an explosion of flavors.
When it comes to cheese, don’t limit yourself to just mozzarella. Mix things up using cheeses like cheddar, feta, or even blue cheese for an extra kick. For those looking for a healthier alternative, try using vegan or dairy-free cheese options.
As for the toppings, let your imagination soar! There are endless possibilities, from classic options like pepperoni and mushrooms to more unique choices such as caramelized onions or grilled pineapple. Don’t be afraid to play around with different textures and flavors.
Once your thin pizza crust is perfectly topped, it’s time to think about creative serving ideas. Cut the pizza into bite-sized squares for an elegant appetizer at parties, or roll it up like a wrap for a fun handheld meal. Remember that presentation matters too – garnish your masterpiece with fresh herbs or drizzle some balsamic glaze.
With these topping variations and creative serving ideas in mind, you’ll never have a dull pizza night again! Let your culinary skills shine by experimenting with bold flavors and unique presentations – endless possibilities.
